
Step 1 : Download Bootstrap from getbootstrap.com or just include Bootstrap from a CDN.
<!– Latest compiled and minified CSS –>
<!– Latest compiled JavaScript –>
<script src=”https://maxcdn.bootstrapcdn.com/bootstrap/3.3.7/js/bootstrap.min.js”></script>
Step 2 : Write the above code between the <head> </head> tag of your html page.
Step 3 : Now write these code’s below in between <body> </body> tag of your html page.
<div id="myCarousel" class="carousel slide" data-ride="carousel">
  <!-- Indicators -->
  <ol class="carousel-indicators">
    <li data-target="#myCarousel" data-slide-to="0" class="active"></li>
    <li data-target="#myCarousel" data-slide-to="1"></li>
    <li data-target="#myCarousel" data-slide-to="2"></li>
    <li data-target="#myCarousel" data-slide-to="3"></li>
  </ol>
<!– Wrapper for slides –>
<div class=”carousel-inner” role=”listbox”>
<div class=”item active”>
<img src=”img_chania.jpg” alt=”Chania”>
<div class=”carousel-caption”>
<h3>Chania</h3>
<p>The atmosphere in Chania has a touch of Florence and Venice.</p>
</div>
</div>
<div class=”item”>
<img src=”img_chania2.jpg” alt=”Chania”>
<div class=”carousel-caption”>
<h3>Chania</h3>
<p>The atmosphere in Chania has a touch of Florence and Venice.</p>
</div>
</div>
<div class=”item”>
<img src=”img_flower.jpg” alt=”Flower”>
<div class=”carousel-caption”>
<h3>Flowers</h3>
<p>Beautiful flowers in Kolymbari, Crete.</p>
</div>
</div>
<div class=”item”>
<img src=”img_flower2.jpg” alt=”Flower”>
<div class=”carousel-caption”>
<h3>Flowers</h3>
<p>Beautiful flowers in Kolymbari, Crete.</p>
</div>
</div>
</div>
<!– Left and right controls –>
<a class=”left carousel-control” href=”#myCarousel” role=”button” data-slide=”prev”>
<span class=”glyphicon glyphicon-chevron-left” aria-hidden=”true”></span>
<span class=”sr-only”>Previous</span>
</a>
<a class=”right carousel-control” href=”#myCarousel” role=”button” data-slide=”next”>
<span class=”glyphicon glyphicon-chevron-right” aria-hidden=”true”></span>
<span class=”sr-only”>Next</span>
</a>
</div>
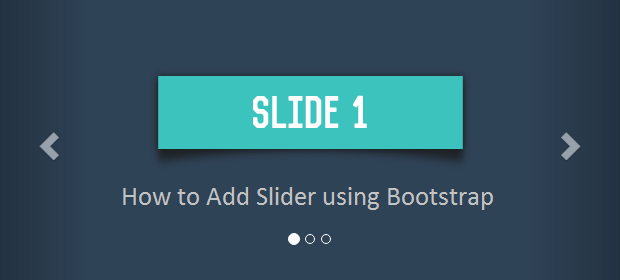
Step 4 : Its Done, You added slider in your Webpage just check it on your Browser while using CDN make sure your computer is connected to internet.
Hey, Friends Please comment down below if you have any query while adding a slider in your pages and please share this article with your friends.
Download :- https://github.com/abhi-jai/slider


